
Customize the Squarespace Checkout Screen (Easy Tutorial)
Squarespace has been steadily improving its e-commerce capabilities, and one area that’s seen significant updates is the checkout experience. While the checkout page still isn’t fully customizable, Squarespace now offers several helpful options that allow you to personalise the process and make it more aligned with your brand.
In this guide, I’ll walk you through where to find the checkout customization settings and how to use Squarespace’s Checkout Style Editor to enhance your customers’ shopping experience.
Where to Find Checkout Settings in Squarespace
To access the checkout customization tools:
Go to Settings > Selling > Checkout
This opens the main checkout settings panel, where you’ll see various configuration options.

Want a framework for designing the perfect homepage?

Need an expert to build your Squarespace website?
Book a free kick-off call with our team to discuss your project requirements in detail.
Key Checkout Settings You Can Customize
Before jumping into design customization, Squarespace offers several practical settings that affect data collection and customer experience.
1. Email Marketing Signup
Inside the checkout settings, you can:
Enable an email signup checkbox
Choose a mailing list
Connect Mailchimp
Set a custom label
Set whether the checkbox is pre-checked
This is a great way to grow your email list directly through checkout.
2. Default Billing and Address Settings
You can also:
Turn on default billing address
Set a default country in address fields
These small optimisations can speed up the checkout process for customers.
3. Additional Fields
Under Additional Fields, you’ll find options to:
Collect phone numbers for shipping
Require a phone number for billing
Enable both fields as optional or required
If your business needs customer phone numbers for delivery or verification, this is where you configure it.
4. Adding a Custom Form at Checkout
If you require extra information per order, such as waiver details, custom instructions, or participant details, you can:
Enable Custom Form at Checkout
Open the Form Editor to build your custom fields
This gives you more control over required information before a customer completes their purchase.
How to Customize the Visual Style of Your Checkout Page
In the checkout settings you can apply visual branding to your checkout flow.
To access it:
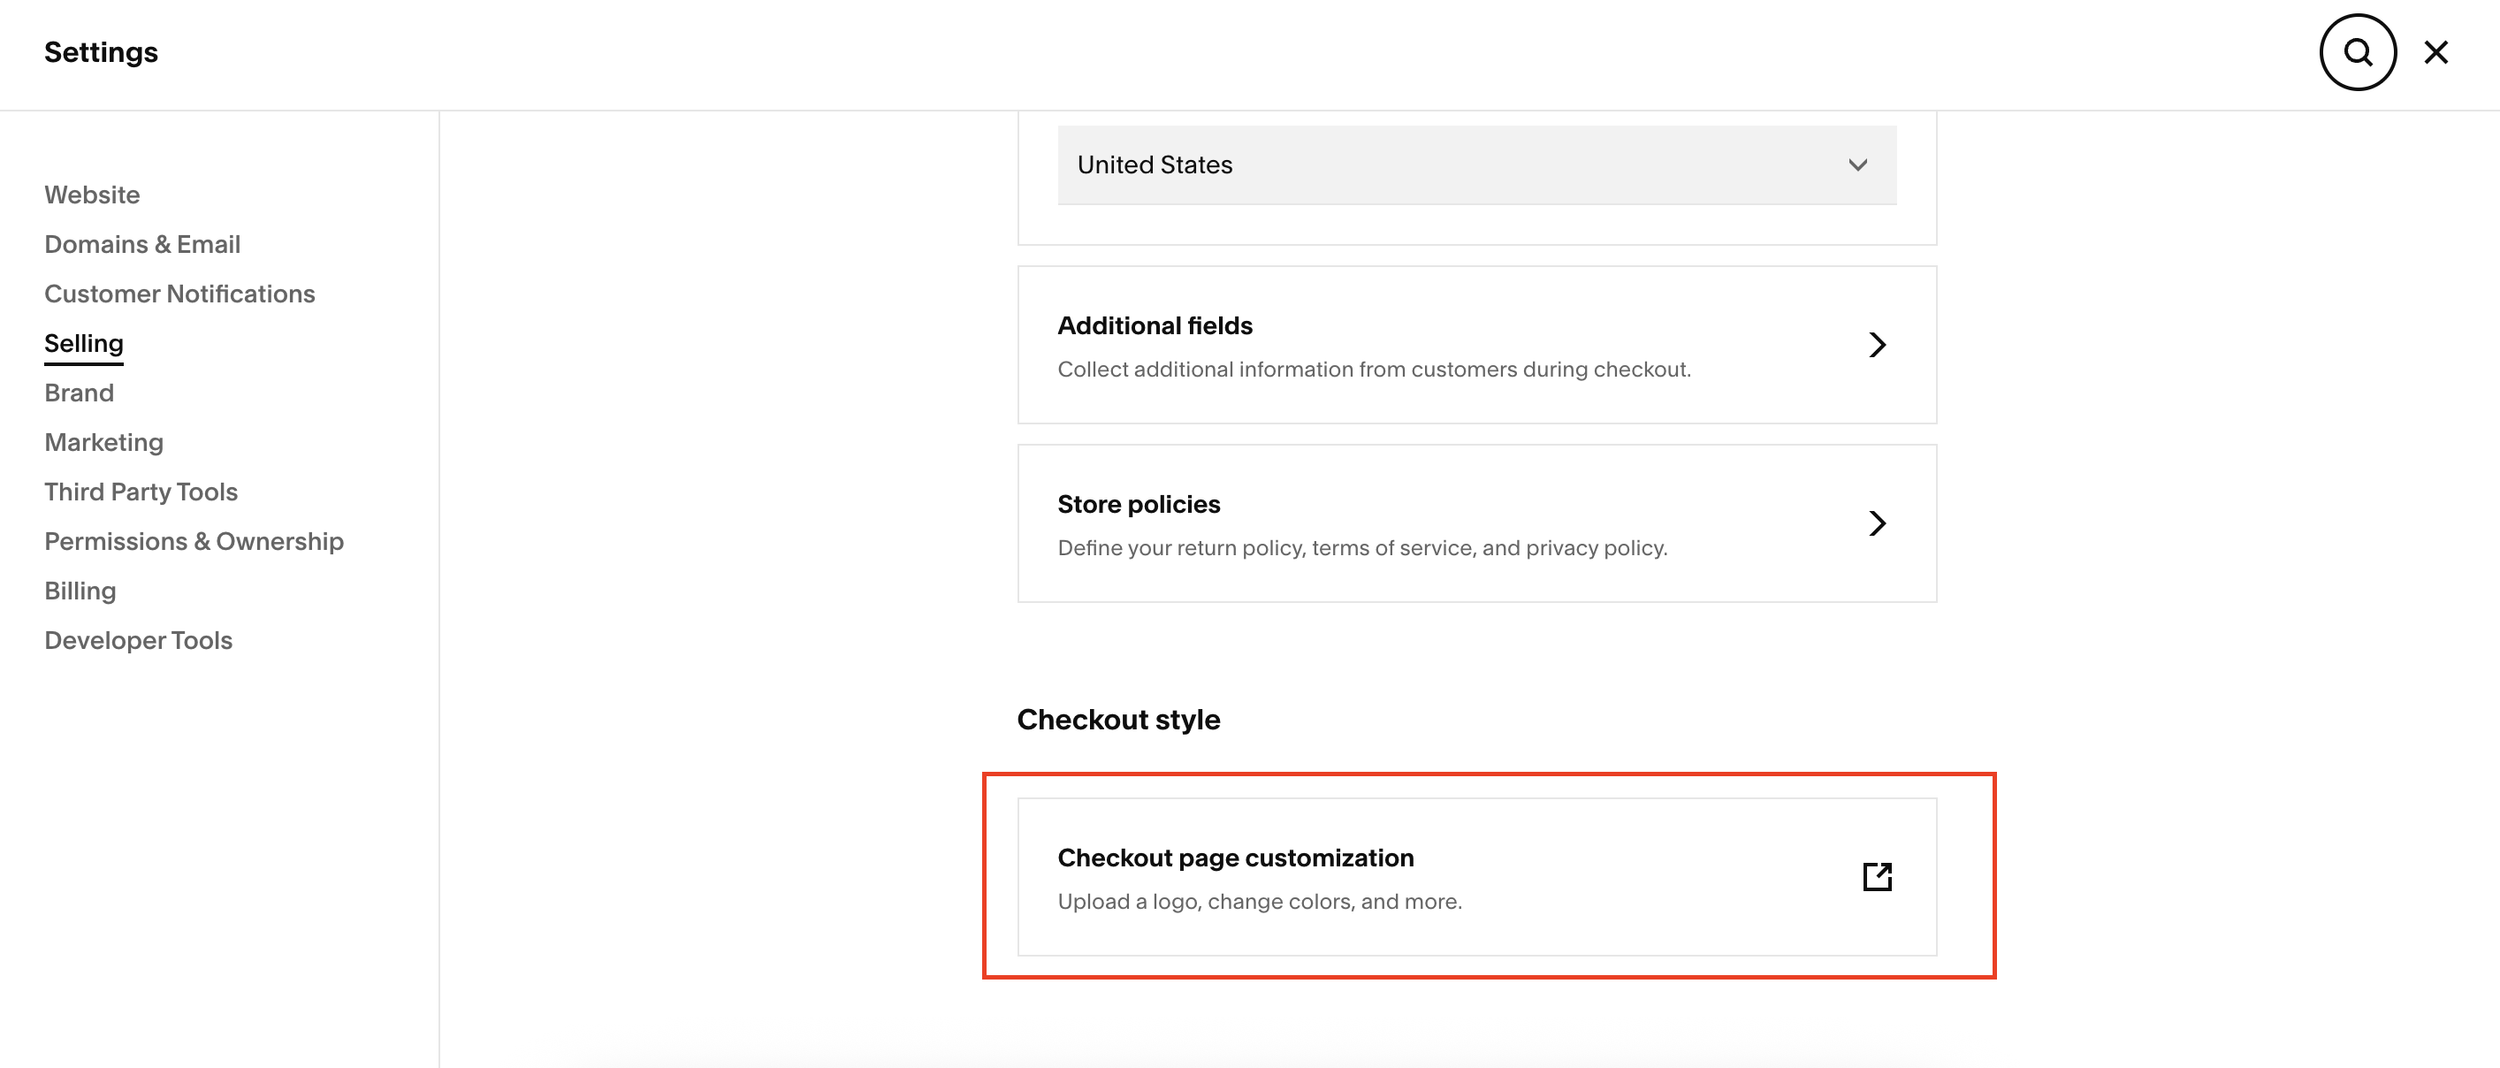
Scroll down to Checkout Style
Click Checkout Page Customization
You’ll be taken into the Style Editor
While Squarespace’s customization options aren’t unlimited, you can still make meaningful visual improvements.
Checkout Style Options You Can Edit
Here’s what you can adjust:
Background Color - Change the checkout background to better match your brand.
Site Logo Display - Toggle your site logo on or off. (If your site doesn’t have a logo uploaded, it won’t appear.)
Site Title Color - Adjust the text color if you’re not using a logo.
Header Color - Modify the header color bar across the top of the checkout page.
Header Border Color - Add or adjust a border line with granular control.
Header Alignment - Choose between left, center, or right alignment.
Button Color - Customize the primary checkout button color to match your brand identity.
These small changes can help your checkout flow feel more professional and cohesive.
Resetting Checkout Styles
If you experiment with design changes and realize things aren’t looking quite right, don’t worry.
Squarespace provides a Reset to Defaults option.
One click returns the entire checkout page to Squarespace’s original styling, perfect for undoing unwanted changes.
Final Thoughts
While Squarespace’s checkout customization isn’t yet as advanced as some dedicated e-commerce platforms, the improvements in the Checkout Style Editor give you greater control over branding and user experience.
If you’re looking to make your checkout page feel more polished and aligned with your store’s identity, these tools are a great place to start.