
Create a Members-Only Store on Squarespace
If you offer exclusive products or premium services, you may not want every visitor to have access to them. Instead, you can create a private store just for your members, giving loyal customers or paying subscribers access to special offerings.
Recently, a client of mine came to me with exactly this challenge. She runs a high-end wellness business and wanted a way to separate standard services from exclusive, members-only treatments.
The solution? A Members Area with a private Squarespace store inside.
In this guide, I’ll walk you through exactly how to set this up on your Squarespace website step by step.
Why Create a Members-Only Store in Squarespace?
Creating a members-only store gives your business several key advantages:
Control who can access certain products or services
Offer exclusive perks for loyal customers or paying members
Build community and trust with a sense of exclusivity
Create new revenue streams via subscriptions or member fees
Even if you don’t charge members, requiring a signup helps you vet who enters your private store and gives you better insight into your audience.

Want a framework for designing the perfect homepage?

Need an expert to build your Squarespace website?
Book a free kick-off call with our team to discuss your project requirements in detail.
Step-by-Step: How to Set Up a Members-Only Store in Squarespace
Let’s go through the process of setting this up on your Squarespace site.
1. Create a Members Area
From your Squarespace dashboard:
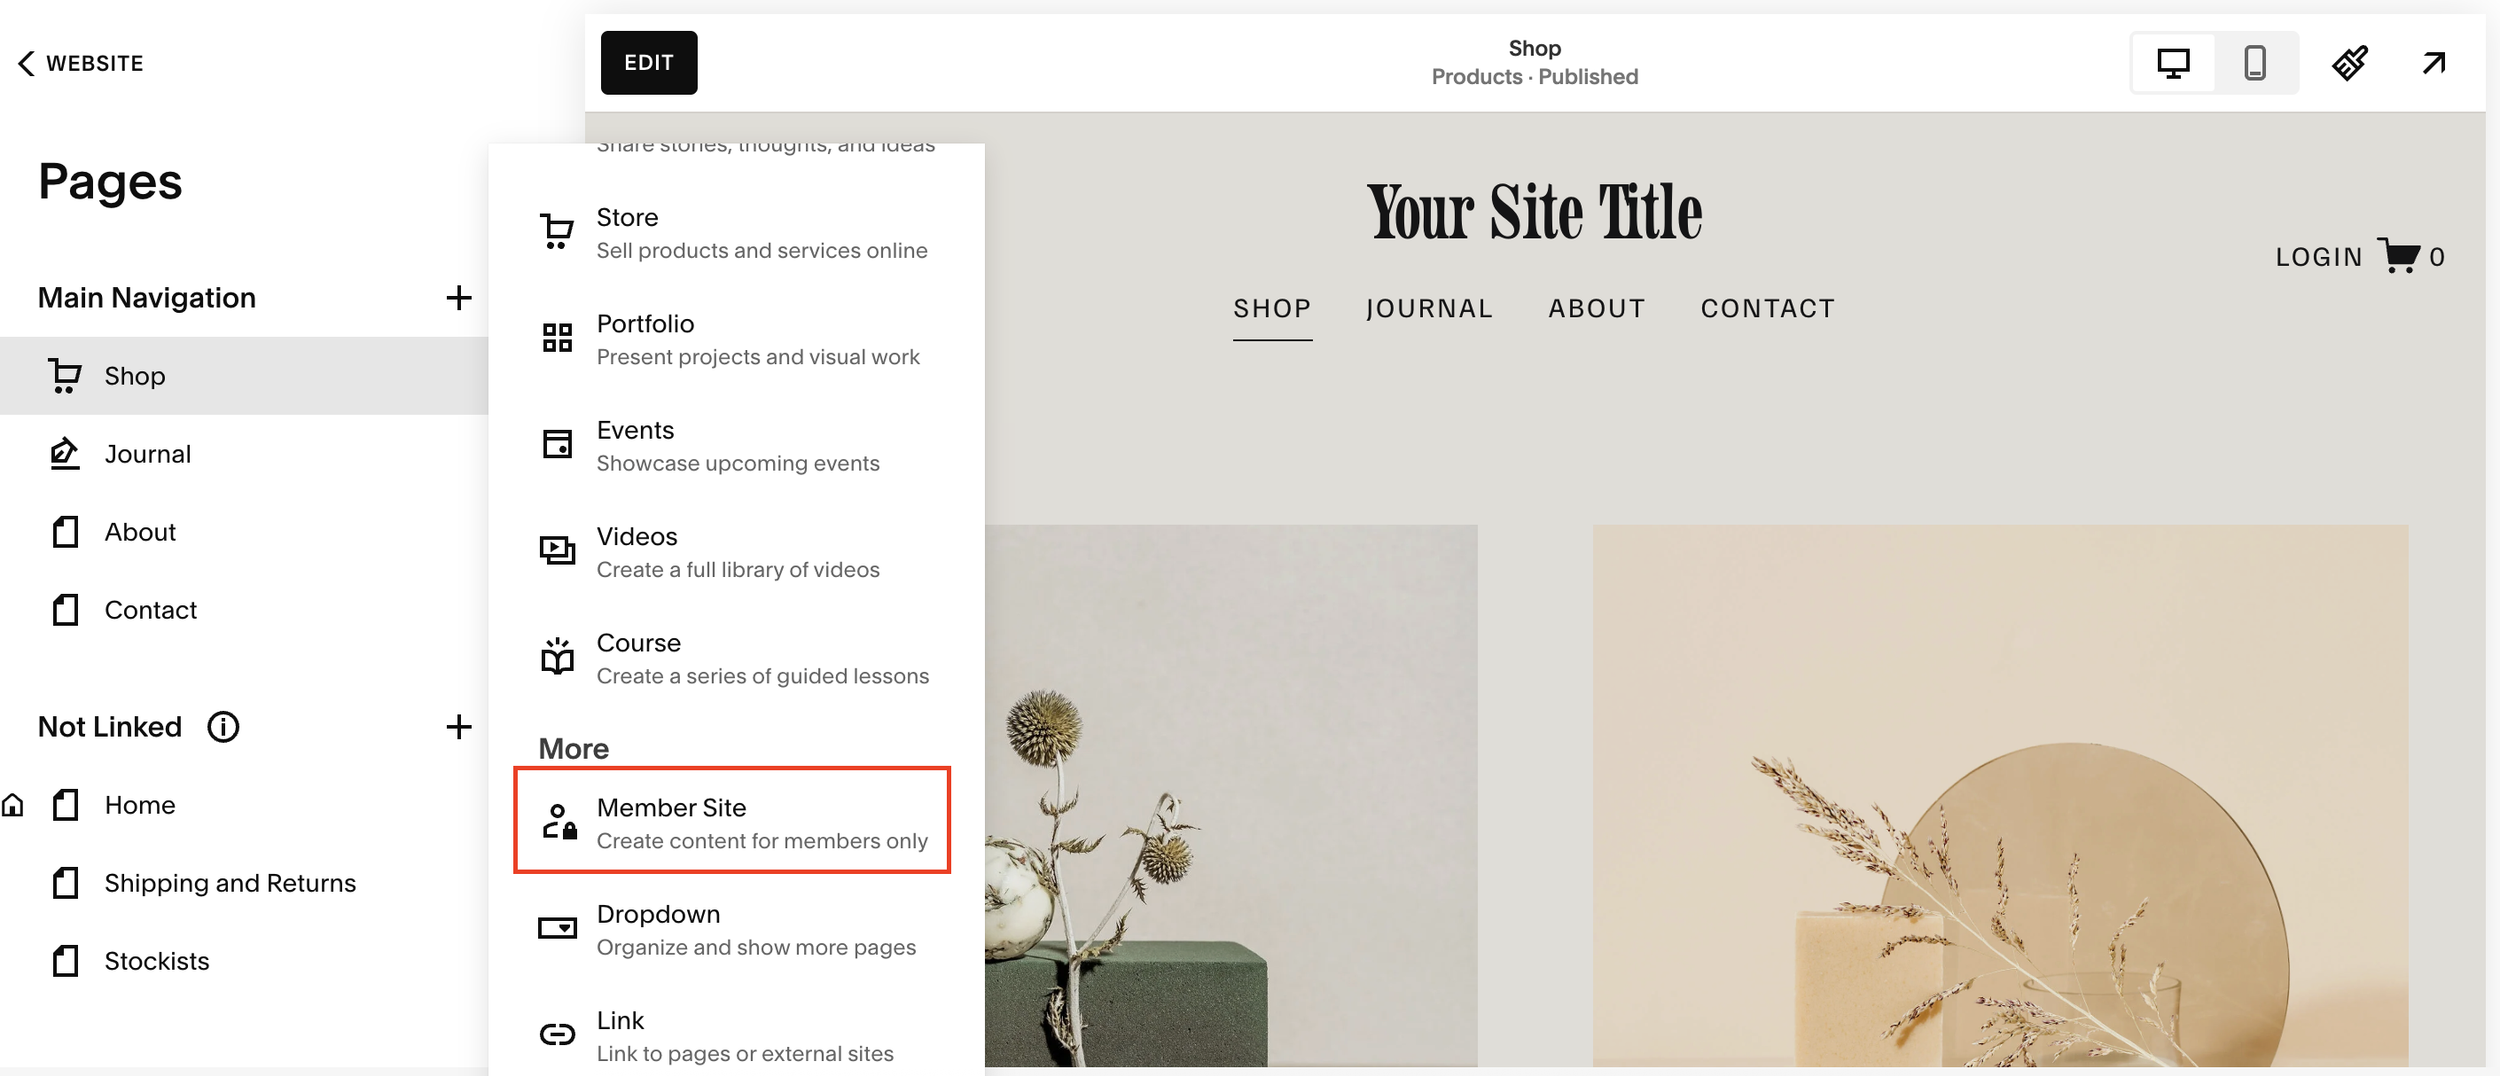
Go to Pages
Click the + button
Select Member Site
For now, you can start with one of Squarespace’s pre-built templates, this will create a dedicated members section for your site.
2. Add a Store Inside the Members Area
Once your Members Area is created:
Click Add Page inside that area
Select Store
This will create a new store page that lives exclusively inside your Members Area. Only signed-in members will be able to access it.
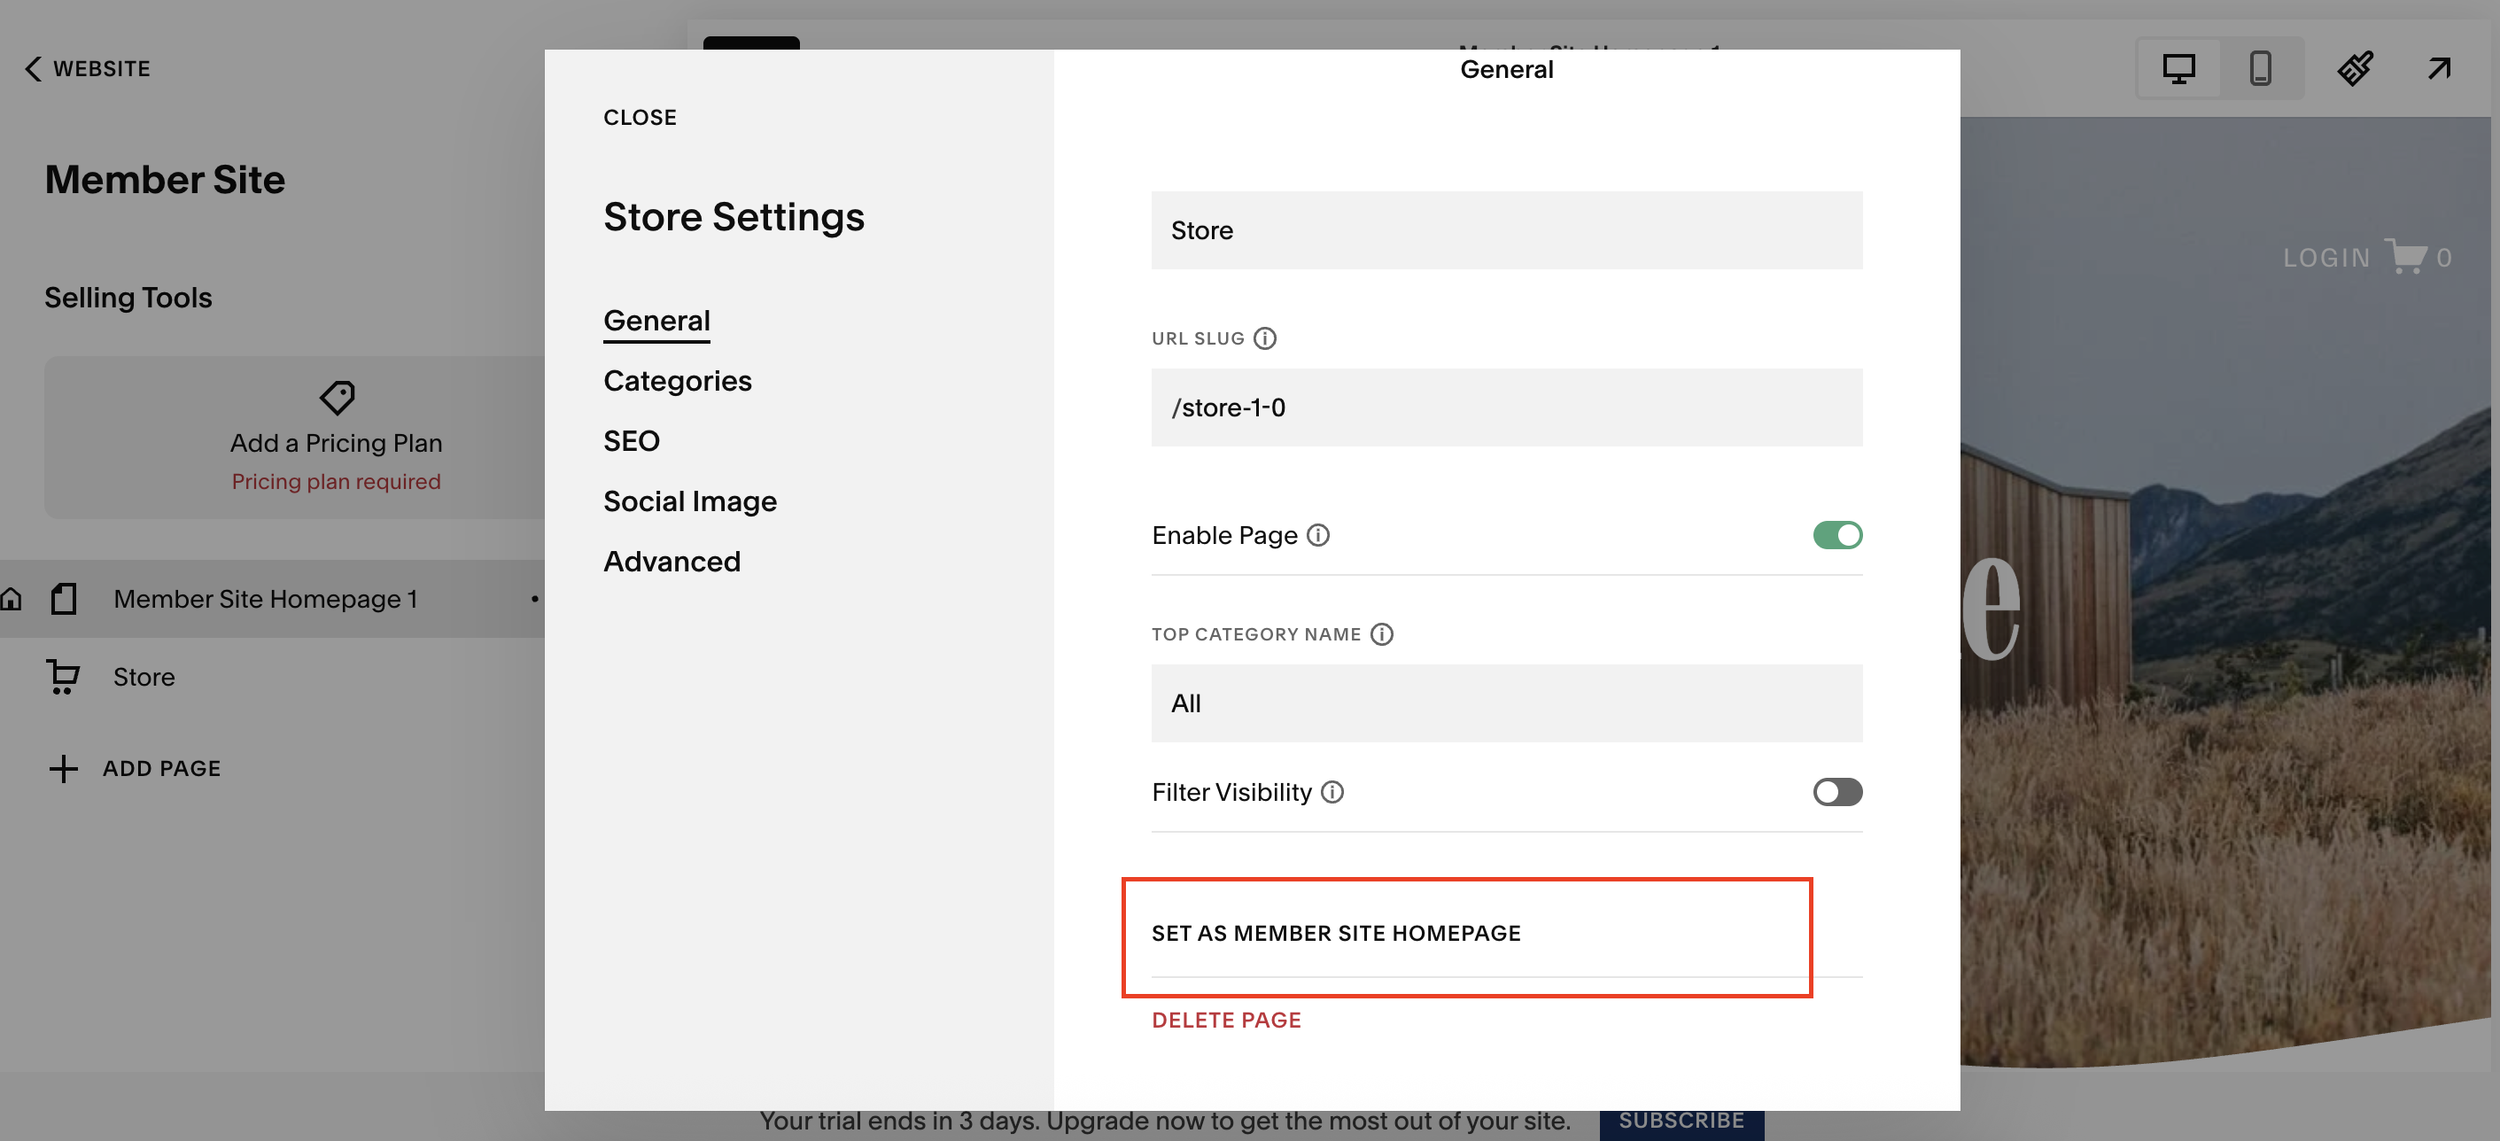
If you’d like this store to be the main landing page for members:
Click the three dots next to the store page.
Choose Set as Member Site Homepage.
Delete any placeholder pages you don’t need.
Now, when members log in, they’ll go straight to your store.
3. Create a Membership Plan
Next, you’ll need to set up a membership plan, this controls who has access to your members-only area.
Click Add Pricing Plan and you can choose between:
Free - great if you just want people to register before entering
Paid - perfect if you’re offering exclusive or luxury products
In my client’s case, she didn’t want to charge members, she simply wanted to know who was accessing the store, so we set it up as free membership.
Even with a free plan, users must provide their name, email, and details before gaining access. This helps you maintain control over who can view and shop in your store.

4. Customize Access and User Experience
Once members sign up, they’ll automatically get access to your private store.
From your regular homepage, the store will not appear in public navigation, meaning only logged-in members can find it.
If you prefer a seamless experience, you can even:
Add a “Member Login” or “Join Now” button to your main navigation
Create a custom signup page leading directly to your Members Area
Optional: Turn Your Members Store into a Subscription Business
If you’d like to monetize your members-only store, Squarespace allows you to:
Charge recurring subscriptions (monthly, quarterly, or yearly)
Offer exclusive discounts or bundles for members
Combine digital and physical products (e.g. premium downloads or limited-edition merch)
This is an excellent option for creators, coaches, or businesses offering exclusive access or premium content.
Final Thoughts
And that’s it! You’ve just created a members-only store in Squarespace, the perfect solution for offering exclusive products or services to select customers.
Whether you’re running a wellness business, an online coaching program, or a luxury brand, this setup gives you total control over who can shop and what they can see.